Table of Contents
ToggleCabinet refacing is one of the smartest moves a homeowner can make when the kitchen structure is solid but the look is dated. Instead of ripping out cabinets and starting from scratch, a project that can cost $15,000 to $30,000 or more, refacing replaces the visible surfaces while keeping the cabinet boxes in place. It’s faster, cheaper, and produces stunning results in weeks instead of months. If your cabinet frames are in good condition and the layout works for your lifestyle, this approach can transform the entire room for a fraction of a full replacement.
Key Takeaways
- Cabinet refacing transforms your kitchen by replacing visible door and frame surfaces while keeping cabinet boxes intact, cutting costs from $15,000–$30,000 to a fraction of full replacement price and saving weeks of construction time.
- Inspect your cabinets thoroughly before starting—check for water damage, soft spots, rot, and ensure the frame structure is solid; particleboard cabinets and those with significant moisture damage may not be suitable candidates for refacing.
- Proper sanding is critical to success; sand the face frame with 80, 120, and 220-grit sandpaper to create a dull finish that will hold primer and paint, and always allow proper drying time between coats to prevent peeling or uneven results.
- Allow wood doors and materials 24–48 hours to acclimate to your kitchen’s temperature and humidity before installation to avoid warping or gaps after the project is complete.
- Modern hardware finishes like brushed nickel, matte black, or brass instantly update the aesthetic, and supplementary upgrades such as soft-close hinges, drawer liners, and LED undercabinet lighting complete the transformation for a truly refreshed kitchen.
What Cabinet Refacing Actually Is and Why It Matters
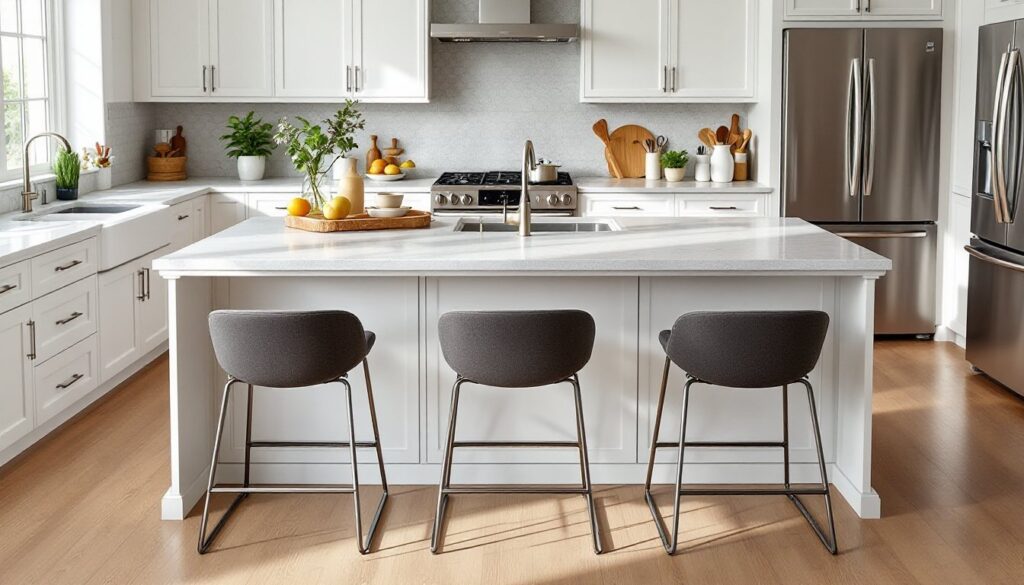
Cabinet refacing swaps out the visible parts of your cabinets, the doors, drawer fronts, and the face frame (the strips of wood around the cabinet opening), while leaving the cabinet boxes and interior hardware untouched. Think of it like reupholstering furniture: the bones stay the same, but the exterior gets a complete refresh.
Why does this matter? A full cabinet replacement requires demolition, new plumbing and electrical rerouting if appliances move, and often structural adjustments. Refacing sidesteps all that disruption. You’ll keep your existing layout, avoid unexpected surprises behind the walls, and save weeks of construction noise and dust. The visual impact is just as dramatic, new cabinet fronts, fresh finishes, and updated hardware make the kitchen feel brand new.
This approach also works well for kitchens where the cabinetry is structurally sound but cosmetically tired. If your boxes are solid, the doors just need refinishing, and the hardware is functional, refacing is the clear win.
Assessing Your Cabinets Before You Start
Open a few cabinet doors and inspect the boxes. Run your hand along the interior and exterior edges: feel for soft spots, water damage, or rot. Press gently on the face frame, if it flexes or creaks, the structure may be compromised. Check that hinges are tight and doors close properly without binding.
Look at the cabinet material. Solid wood, plywood, or veneer-over-plywood are all refaceable. Particleboard cabinets are trickier: they can warp or delaminate, especially if there’s moisture damage. If you find mold, water stains, or pest damage, those areas need repair or replacement before refacing proceeds.
Measure the cabinet opening widths and note the door thicknesses (typically ¾-inch nominal). Count every door, drawer front, and linear foot of face frame you’ll need to cover. Check if your cabinet interiors have adjustable shelves or fixed shelves, since this affects how you’ll finish the interior edges if leaving them visible. Taking accurate measurements now prevents expensive mistakes later.
Tools and Materials You’ll Need
Essential Tools:
- Screwdriver set (Phillips and square-drive bits)
- Orbital sander and sanding blocks (80, 120, and 220-grit sandpaper)
- Nail set and hammer
- Tape measure and pencil
- Drill with bits
- Hinges removal tools or small pry bar
- Masking tape and drop cloth
- Safety goggles, work gloves, and dust mask (especially when sanding)
Materials for Refacing:
- Replacement cabinet doors and drawer fronts (custom-made to your specs or stock options)
- Wood veneer or edge banding to cover the exposed face frame edges
- Wood filler or putty for gaps and screw holes
- Primer and finish paint or stain (typically 2–3 coats)
- Wood glue
- Cabinet hardware (hinges, knobs, pulls) to match your design
- Sandpaper (assorted grits)
- Wood stain or polyurethane (if staining instead of painting)
For a standard 10-by-10-foot kitchen, budget one gallon of primer and one to two gallons of finish paint. If you’re staining, calculate based on the exposed face frame area. Stock replacement doors run $40–$150 per door: custom options cost $80–$250 each. Face frame refinishing supplies add another $100–$300 depending on material choices.
Step-by-Step Refacing Process
Step 1: Remove Hardware and Doors
Unscrew and remove all hinges, knobs, and pulls. Label each hinge location with masking tape so you reinstall them exactly. Set doors and hardware aside in a clean workspace. Remove any interior shelves or dividers if you’ll be refinishing the face frame.
Step 2: Sand and Prep the Face Frame
Use an orbital sander with 80-grit paper to cut through the old finish and stain. Sand with the grain when possible: this prevents tearout and produces a smoother surface. Move to 120-grit, then 220-grit for a final smooth finish. Vacuum thoroughly and wipe with a tack cloth to remove all dust.
Step 3: Fill Gaps and Holes
Fill screw holes, nail holes, and any gaps between the frame and cabinet boxes with wood putty. Sand smooth once dry.
Step 4: Prime and Paint the Face Frame
Apply one coat of primer, let it dry (follow product directions, typically 1–2 hours), then lightly sand with 220-grit paper. Apply two coats of finish paint or stain, sanding lightly between coats. This approach works for kitchens where the cabinets are painted: if you’re staining, skip primer and apply stain directly to sanded wood, then seal with polyurethane.
Step 5: Prepare the New Doors and Drawer Fronts
If the new doors come pre-finished, test-fit them first. If they need finishing, sand and paint or stain them using the same process as the face frame. Store them flat to prevent warping.
Step 6: Install New Doors and Hardware
Hang the new doors using the existing hinge locations. Adjust hinge screws so doors sit flush and parallel. Drill holes for new knobs or pulls if the old ones don’t match the new style. Install hardware and test the swing and closure.
Step 7: Cover Edges and Finish Details
Apply veneer or edge banding to any exposed plywood edges on the face frame using contact cement or hot-melt adhesive. Trim excess with a utility knife and sand smooth.
Common Mistakes to Avoid During Refacing
Skipping Proper Sanding is the biggest mistake. Old paint or finish won’t hold new primer if the surface is glossy or sealed. Sand everything to a dull, flat finish: don’t rely on primer alone to grip the old surface.
Assuming Hinges Are Reusable without checking them first. Old hinges may be loose, rusted, or misaligned. Measure the hinge hole spacing on your new doors, sometimes it varies from the old ones, requiring new holes. If existing hinges are worn or corroded, replace them.
Not Acclimating Wood Products leads to warping or gaps. If doors or face frame materials are solid wood or veneer, let them sit in your kitchen for 24–48 hours before installation. This allows the wood to adjust to the room’s temperature and humidity.
Measuring Once and Cutting Once is wishful thinking. Double-check all dimensions, especially door widths and face frame depth. A ¼-inch error gets magnified across multiple doors.
Rushing the Sanding or Finishing Process results in rough surfaces, uneven stain absorption, or paint that peels. Each coat needs full drying time, and light sanding between coats ensures adhesion.
Forgetting to Account for Soft-Close Hardware if upgrading. Soft-close hinges and drawer slides are thicker and may require hinge hole adjustments or additional clearance. Plan for this during the design phase.
Finishing Touches and Hardware Updates
Once doors and the face frame are installed and finished, hardware becomes the jewelry of the project. Modern cabinet pulls and knobs in brushed nickel, matte black, or brass finishes can shift the kitchen’s entire aesthetic. Measure the distance between knob holes (typically 3, 4, 5, or 6 inches) and choose hardware that matches your design vision.
Interior design sites like Remodelista showcase hardware finishes paired with specific cabinet styles, helping you visualize options. If you’re painting cabinets white or gray, brushed nickel or modern black pulls feel fresh. Warmer wood tones pair beautifully with brass or bronze hardware.
Don’t forget the interior. If your cabinets had dated shelving or interior finishes, consider adding drawer liners, shelf liners, or even contact paper in a complementary color. The Kitchn often reviews kitchen organization products that maximize storage and accessibility. Small upgrades like soft-close hinges, pull-out shelves, or internal organizers make refaced cabinets feel truly updated.
Check that lighting is adequate for the newly refreshed space. If your kitchen had older undercabinet lighting, now’s a great time to upgrade to LED strips, which are energy-efficient and brighten the countertop workspace beautifully.
Conclusion
Cabinet refacing is a practical, high-impact project that rewards careful planning and honest craftsmanship. It’s entirely doable for a motivated DIYer, though the face frame finishing and door hanging do require patience and precision. If you hit a structural issue, water damage, or hinge problems you didn’t anticipate, don’t hesitate to call in a pro for that specific repair, it’s worth the cost to get it right. When done well, refaced cabinets deliver the kitchen transformation you want without the price tag of a full remodel.