Table of Contents
ToggleKitchen cabinets collect grease faster than most homeowners expect. Cooking steam, splatter from stovetop weeknight dinners, and months of accumulated oil buildup create that sticky, dingy coating that’s tough to scrub away with a sponge and dish soap alone. If your cabinet doors feel tacky or look dull even though regular wiping, you’re dealing with the kind of grease that needs a targeted degreasing approach. The good news: cleaning kitchen cabinets from grease is a straightforward DIY project that takes a weekend afternoon and costs far less than replacing or professionally refinishing them. This guide walks you through the science of why grease sticks, what products actually work, and a proven step-by-step method to restore your cabinets’ finish without damaging the wood or paint.
Key Takeaways
- Grease buildup on kitchen cabinets forms when cooking oils condense on surfaces and bond with dust, requiring a degreaser to break the chemical bonds that dish soap alone cannot remove.
- Effective degreasing solutions range from mild (dish soap and water) to heavy-duty (TSP or commercial degreasers), so test your chosen cleaner on a hidden area first to avoid damaging wood or paint finishes.
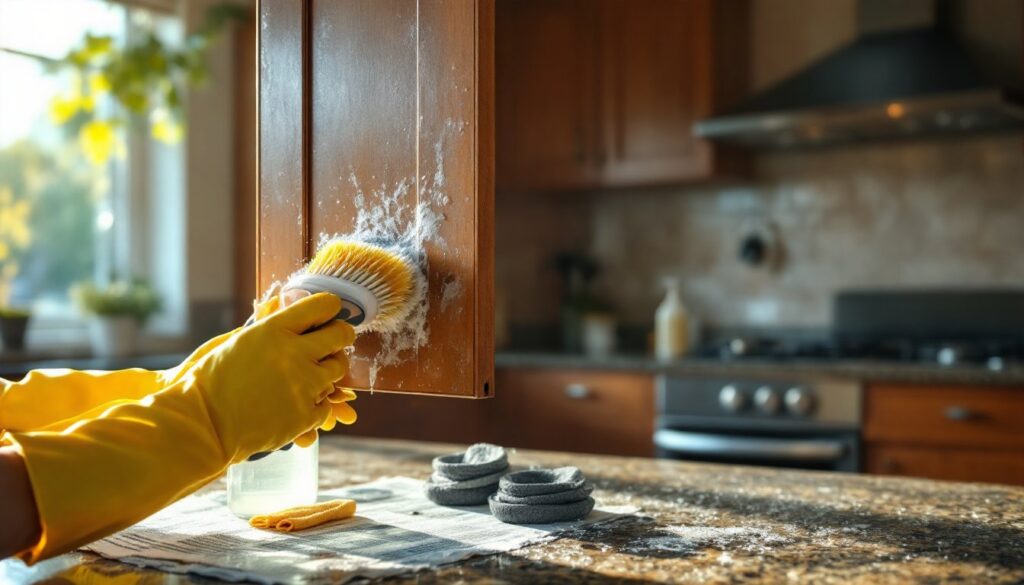
- Clean kitchen cabinets from grease using the section-by-section method: apply degreaser, let it sit 1–3 minutes, scrub gently with circular motions, rinse thoroughly, and dry immediately to prevent water marks and streaks.
- Monthly preventive maintenance with a barely damp cloth and mild soap keeps grease from accumulating heavily, while an annual deep clean takes 2–4 hours and saves hundreds compared to professional refinishing.
- Gas stovetops produce more airborne grease particles than electric ones, so cabinets near cooking areas need the most aggressive degreasing attention, especially on cabinet doors that flank the stove.
- After degreasing, apply cabinet polish or furniture wax to restore shine and create a protective barrier against future grease buildup.
Why Kitchen Cabinet Grease Buildup Happens
Grease buildup isn’t just cosmetic grime, it’s a chemistry problem. When you cook, oil and fat particles become airborne as vapor and aerosol, then condense on nearby surfaces as they cool. Cabinet doors, especially those flanking the stovetop, are ground zero. Over time, dust and cooking residue stick to that oily layer, creating a stubborn, darkened film that ordinary soap and water can’t cut through.
The more you cook, the worse it gets. Deep frying, sautéing, and high-heat searing release more grease into the air than boiling or microwaving. Gas stovetops also tend to produce more airborne particles than electric ones, since the flame itself causes more turbulent air circulation. Even if you’re diligent with ventilation fans, some grease always escapes and settles on cabinet surfaces nearby.
Wood stain, paint, lacquer, and polyurethane finishes on cabinets are all porous enough at a micro level to allow grease to seep slightly into the finish layers. This is why warm water and detergent alone won’t work, you need a degreaser that breaks the chemical bonds holding the oil to the surface. Without it, you’re just pushing the grease around, not removing it.
Essential Supplies For Degreasing Your Cabinets
Before you start, gather the right tools and cleaners. Using the wrong product can leave streaks, damage finishes, or simply waste your time.
Degreasing Solutions:
- Dish soap and warm water: Fine for light, recent grease. Mix 1 tablespoon liquid dish soap per gallon of warm (not hot) water. Too much soap leaves residue: too little won’t cut through months of buildup.
- White vinegar solution: A natural alternative that cuts grease moderately well. Mix equal parts white vinegar and warm water. The smell fades as it dries.
- Commercial degreasers: Products like Goof Off Grease & Grime Remover or Oil Eater Cleaner Degreaser are stronger options for heavy buildup. Always read the label, some are safe for painted wood: others aren’t. Test on an inconspicuous spot first.
- TSP (trisodium phosphate): A heavy-duty cleaner available at hardware stores. Dissolve ½ cup per gallon of warm water. Wears gloves, TSP can irritate skin. Rinse thoroughly afterward.
Tools and Materials:
- Soft-bristle brushes or microfiber cloths (avoid steel wool on painted or stained finishes, it scratches)
- Soft sponges and lint-free towels
- Two buckets: one for your cleaning solution, one for rinsing
- Rubber gloves to protect hands
- Safety glasses and a dust mask if using strong chemical degreasers
- Newspaper or drop cloths to catch spills
- A spray bottle for applying solution evenly
Safety Gear:
- Gloves: Essential. Degreasers and even vinegar can dry out skin and aggravate cuts.
- Eye protection: Wear safety glasses when spraying overhead on upper cabinets. Splashes hurt.
- Ventilation: Open windows and run your range hood. Even natural solutions benefit from air circulation.
Step-By-Step Cleaning Method For Greasy Cabinets
Preparation and Safety First
Start by clearing your cabinet hardware (handles, knobs, and hinges) if they’re removable. You can clean them separately in a bucket of degreaser while you work on the doors and frames, or leave them on, just work around them carefully. Lay newspaper or cardboard under your work area to catch drips and protect your countertops and flooring. If your cabinets are really grimy, this step saves cleanup time later.
Change your clothes into something you don’t mind getting wet. Even careful work involves splash. Put on your gloves, glasses, and mask if you’re using a chemical degreaser. Test your chosen cleaner on a hidden corner of the cabinet, inside an edge or the back of a door, to ensure it doesn’t dull, discolor, or damage the finish. Wait 10 minutes and wipe dry. If the finish looks unchanged, you’re good to proceed.
Applying Your Degreaser Solution
Fill one bucket with your degreaser solution and the other with plain warm water for rinsing. Dip a soft-bristle brush or microfiber cloth into the degreaser, wring out excess liquid so it’s damp but not dripping, and apply it to a small section of the cabinet (roughly 2×2 feet). Let it sit for 1–3 minutes, this dwell time allows the degreaser to break down the grease bonds. Don’t let it dry on the surface: wet contact is what matters.
Use light, circular motions with your brush or cloth, working from top to bottom so dirty water drips downward naturally. For stubborn, thick buildup, let the solution sit a bit longer or apply it twice. A soft brush works on flat surfaces and crevices around edges better than a cloth alone. Avoid scrubbing hard enough to scuff the finish, gentle, persistent pressure does the job.
Once the area looks clean, dip a cloth or sponge into your plain rinse water and wipe the degreaser away completely. Leftover cleaner residue will streak and attract dust faster than clean wood. Wring out your rinse cloth frequently and switch to fresh water if it gets too dirty. Then immediately dry the wet surface with a lint-free towel to prevent water marks and mildew.
Move to the next section and repeat. This might sound tedious for a whole kitchen, but treating cabinets in manageable 2×2 sections keeps the work organized and prevents the solution from drying unevenly. For a typical kitchen with about 20–24 door and frame sections, plan on 2–4 hours depending on grease severity. Heavy buildup in homes with gas stovetops takes longer.
Drying and Finishing Touches
After you’ve cleaned all surfaces, do a final pass with a clean, dry towel to catch any remaining moisture. Open cabinet doors and let air circulation dry the interior for 30 minutes before closing them fully. If the grease was especially bad, you might notice the finish looks slightly dull or has water marks, this is normal. A light coat of cabinet polish or furniture wax restores shine and adds a thin protective barrier against future grease. Use a product designed for wood or painted cabinets, not automotive wax. Apply it sparingly with a soft cloth, then buff with a second cloth.
Clean your hardware separately in a bucket of the same degreaser, rinse, dry, and reinstall if you removed it. For metal handles and hinges, a quick wipe with a dry microfiber cloth finishes the job. If your cabinet interior is greasy too, which happens around open shelves or above the stove, repeat the same process inside. Most people overlook this, but grease buildup inside cabinets accelerates during storage and can transfer to dishes and food containers.
One more tip: regular preventive maintenance means you won’t face heavy grease again. Wipe cabinet doors monthly with a barely damp cloth and mild dish soap, especially around cooking areas. A clean kitchen is a happy kitchen, and cabinets are the backdrop everyone sees.
Conclusion
Cleaning kitchen cabinets from grease is one of those projects that looks daunting until you realize it’s mostly patience and the right degreaser. Follow the step-by-step approach above, test your cleaner first, protect your hands and eyes, and work in sections. Your cabinets will look refreshed, and you’ll have saved hundreds of dollars versus refinishing. Do this deep clean once a year, wipe monthly, and grease buildup becomes a non-issue. That’s the DIY win right there.