Table of Contents
ToggleA KitchenAid stand mixer is a kitchen workhorse, but it only reaches its full potential once you unlock its ecosystem of attachments. The base mixer ships with three core accessories, yet dozens of specialty tools wait in the wings, dough hooks, pasta rollers, grinder heads, and more. Whether you’re a casual baker whipping cream for weekend desserts or someone serious about breadmaking, the right attachments transform your mixer from a one-trick appliance into a genuinely versatile kitchen powerhouse. This guide walks you through which attachments matter, how to choose them, and how to keep them running smoothly so you get years of solid performance.
Key Takeaways
- KitchenAid mixer attachments unlock the full potential of your stand mixer by transforming it from a one-trick appliance into a versatile kitchen powerhouse for baking, kneading, grinding, and specialty cooking tasks.
- The flat mixing paddle and wire whip are essential KitchenAid mixer attachment basics that handle approximately 80% of home baking, with the whip excelling at incorporating air into batters and the paddle ensuring uniform mixing with minimal splashing.
- Compatibility is critical—tilt-head and bowl-lift mixers use different attachment hub systems, so verify your mixer type before purchasing to avoid costly returns and ensure proper fit.
- A dough hook cuts bread-kneading time roughly in half and produces consistent results, but allow dough to reach room temperature first to prevent motor strain and achieve optimal gluten development.
- Specialty KitchenAid mixer attachments like pasta rollers, food grinders, and spiralizers should be purchased gradually based on actual cooking needs rather than impulse buying, as core attachment bundles often go unused.
- Proper maintenance—hand washing after each use, confirming full seating before mixing, and keeping doughs at room temperature—ensures 10–20 years of reliable performance from your mixer and its attachments.
Understanding KitchenAid Mixer Attachments and Why They Matter
KitchenAid stand mixers operate on a straightforward hub-and-bolt system. The motor drives a rotating shaft, and you swap attachments into a collar on the mixer head. Each attachment connects via a flat drive coupling and is held fast with a simple wrench turn. This modular design lets a single machine handle vastly different tasks, mixing cake batter one minute, kneading pizza dough the next, then grinding meat for burgers.
Most home cooks underestimate how much time and physical effort the right attachment saves. Hand-whisking eggs to stiff peaks for a soufflé takes 15–20 minutes and leaves your arm aching. A wire whip does it in 4–5 minutes without fatigue. Kneading dough by hand is meditative for some, exhausting for others: a dough hook handles the work while you prep ingredients or rest. The economics are real: a mixer and its attachments cost less than a kitchen stand for a stand mixer and a separate pasta machine, food processor, and meat grinder bought individually.
Compatibility matters from day one. Not all KitchenAid attachments work with all models. Tilt-head mixers (the classic small and mid-size models) use different attachment hubs than bowl-lift models (the larger professional-grade units). Knowing your mixer type before shopping saves buyer’s remorse and shipping hassles. The good news is that KitchenAid makes this straightforward to confirm, your manual or product page lists what fits.
The Essential Attachments Every Home Baker Should Know
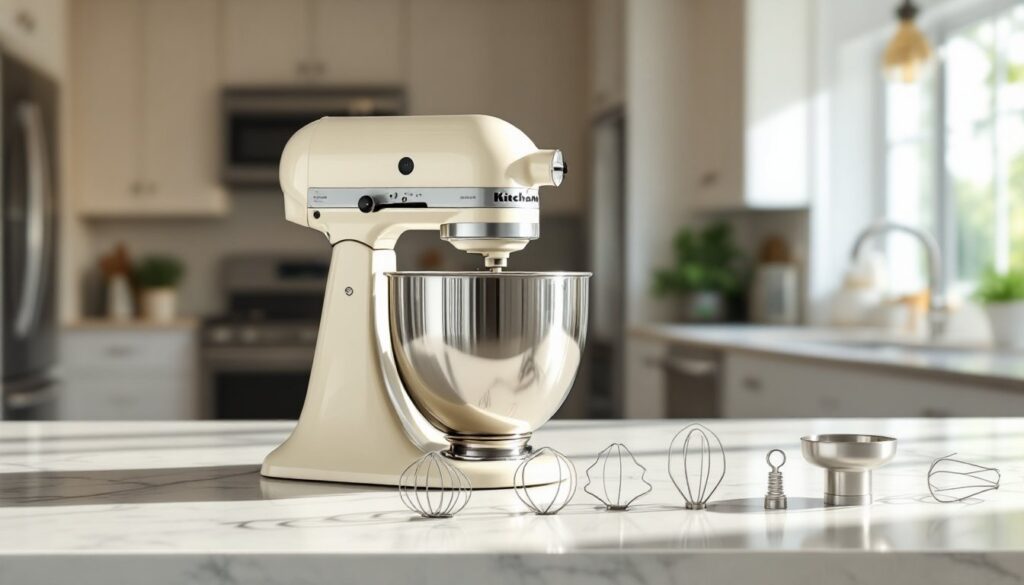
The Flat Mixing Paddle and Wire Whip
The flat mixing paddle (also called a flat beater) comes standard with most KitchenAid mixers. It scrapes the bowl walls, folding ingredients uniformly with minimal splashing. Use it for cookie doughs, batters, cream cheese frostings, and any mixed preparation that doesn’t require sustained aerating. Its scraper design keeps the bottom of the bowl working, neglect this step and you’ll have dry flour streaks in finished cookies.
The wire whip is the second pillar of baking. This balloon-shaped attachment incorporates air into batters and creams. It’s essential for whipping egg whites to stiff peaks, whipping heavy cream, and creating fluffy cake batters. A wire whip does what you can’t easily accomplish with a flat paddle: capture thousands of tiny air bubbles that make cakes tender and mousse light. Recipes that call for “beat until stiff peaks form” assume mechanical whipping power: hand whisking the same volume of eggs becomes a 20-minute ordeal.
These two attachments handle about 80% of home baking. If you own a KitchenAid, confirm they’re in your box before assuming anything else.
The Dough Hook for Bread Making
The dough hook is a spiral or C-shaped tool designed specifically for developing gluten in yeast doughs. Hand-kneading bread dough is a legitimate craft, but a dough hook cuts kneading time roughly in half and produces consistent results, especially for enriched doughs loaded with butter, eggs, or chocolate. A dough hook takes the physical demand out of breadmaking, which matters for folks with weak wrists, arthritis, or just impatience on a Tuesday night.
One critical practice: let your dough come to room temperature before mixing. Cold dough takes 30–40% longer to develop gluten, and your mixer works harder than it should. Similarly, don’t skip the bulk fermentation, the hook starts the process but doesn’t replace proper timing. Experts test KitchenAid attachments to confirm the dough hook excels at pizza, sourdough, and sandwich loaves. For gluten-free or very stiff doughs (like bagel dough), watch your mixer’s temperature: the motor can strain if dough resistance spikes too high.
Beyond the Basics: Optional and Specialty Attachments
Once you’ve mastered the paddle, whip, and dough hook, the KitchenAid ecosystem opens up. Pasta-making attachments, roller and cutter sets, let you produce fresh fettuccine or lasagna sheets. A food grinder attachment turns your mixer into a meat processor, handling ground beef, sausage, and even vegetables. A citrus juicer squeezes lemons and limes. A grain mill grinds whole grains into flour. A spiralizer creates vegetable noodles from zucchini or sweet potatoes.
Not every attachment is essential. Assess your actual cooking patterns. If you make pasta twice a year, borrowing a pasta machine or hand-crank tool is more practical than buying an attachment you’ll store. If you grind meat monthly for meatballs and burgers, a grinder attachment pays for itself in convenience and cost compared to buying pre-ground meat. Step-by-step DIY tutorials showcase how to set up and use these tools safely.
Price varies widely. Core attachments (paddle, whip, dough hook) cost $20–$50 each when bought individually. Specialty attachments range from $40 for a simple juicer to $150+ for a pasta roller set. Buy gradually as your cooking needs evolve, not all at once. Many attachment bundles sit unused because someone bought them on impulse rather than actual need.
Compatibility and Installation Tips for Seamless Use
KitchenAid makes two primary mixer lines: tilt-head (including the Artisan and Classic models) and bowl-lift (the Commercial and Pro series). Tilt-head mixers use a flat hub attachment collar: bowl-lift mixers use a different collar system. Buying a pasta roller made for a bowl-lift mixer won’t fit a tilt-head model, period. Check your mixer’s manual or the product label on the back before ordering anything.
Installing an attachment takes 15 seconds. Lower the mixer head (if tilt-head) or raise the bowl (if bowl-lift) to access the hub. Align the flat drive pin on the attachment with the slot on the hub, press in firmly until seated, and use the attachment wrench to tighten the collar clockwise about one-quarter turn. Don’t overtighten, you’ll strip the collar or make removal difficult. The wrench comes in the mixer box: if you’ve lost it, KitchenAid sells replacements for $5–$10.
Before your first use, run the mixer on speed 1 for 10 seconds with no load. This settles the attachment and confirms everything’s seated properly. If the mixer vibrates excessively or sounds wrong, stop immediately, remove the attachment, and reseat it. A properly seated attachment runs quiet and smooth. Kitchen design and appliance resources offer additional user guides and troubleshooting tips if you encounter issues.
Maintenance and Care for Long-Lasting Performance
KitchenAid attachments are mostly stainless steel, aluminum, or food-grade plastic and clean up easily. Hand wash after every use in warm soapy water, dry immediately, and store in a cool, dry cabinet. The hub collar rarely needs attention, but if you notice resistance when inserting or removing an attachment, a drop of food-grade mineral oil on the hub pin loosens things up without damaging the motor.
One frequent mistake: running the mixer at top speed with an attachment seated loosely or slightly misaligned. This causes vibration that stresses the hub and collar, leading to premature wear. Always confirm the attachment is fully seated before increasing speed beyond level 1. Another tip: let thick doughs (pizza, bagel, enriched bread) come to room temperature before mixing. Cold dough forces the motor to work harder than necessary, and prolonged high resistance can trip the mixer’s thermal overload, the appliance shuts off for an hour to cool down.
The gear system inside the mixer head is sealed and maintenance-free. If your mixer leaks oil or makes grinding sounds internally, contact KitchenAid service: this is beyond DIY territory. Most owners get 10–20 years from a well-maintained mixer, though the motor may slow slightly after heavy use. Treat attachments as wear items: if a paddle edge cracks or a whip becomes misshapen, replacement kits run $20–$40 and restore performance completely.